Data Access API
|
Collect
The content described in this document belongs to the advanced usage of Sensors Analytics, involving many technical details. It is suitable for experienced users to refer to. If you have any questions about the document, please consult the on-duty classmate of Sensors Analytics for one-on-one assistance.
Sensors Analytics Data Collection generally uses SDKs in various languages or our provided batch or streaming data import tools to complete the process.
In some special cases, if users want to implement their own access tools, they can refer to this document.
If there are no special requirements, it is recommended to use our SDKs or tools for data access to avoid unknown problems and facilitate the use of new features in the future. For example, when there is no corresponding SDK for the programming language being used, consider using 2023-05-16_14-08-00_.LogAgent v1.13 or other batch import tools.
External data access to Sensors Analytics is divided into several steps:
1. Generate Data
In the process of data access to Sensors Analytics, each piece of data (including any event behavior and user attribute data) is a JSON that conforms to 2022-12-22_16-35-39_.数据格式 v1.13.
For example:
{ "distinct_id":"2b0a6f51a3cd6775", "time":1434556935000, "type":"track", "event":"ViewProduct", "properties":{ "$manufacturer":"Apple", "$model":"iPhone5,2", "$os":"iOS", "$os_version":"7.0", "$app_version":"1.3", "$wifi":true, "$ip":"180.79.35.65", "$province":"湖南", "$city":"长沙", "$screen_width":320, "$screen_height":640, "product_id":12345, "product_name":"苹果", "product_classify":"水果", "product_price":14 } }When you want to send multiple pieces of data at once, you can construct a JSON array, where each element is a complete JSON.
- It is recommended to send a maximum of 50 pieces of data at a time;
- For sending only one piece of data, you can use a JSON array with a length of 1.
For example:
[ { "distinct_id":"2b0a6f51a3cd6775", "time":1434556935000, "type":"track", "event":"ViewProduct", "properties":{ "product_name":"苹果", "product_classify":"水果", "product_price":14 } }, { "distinct_id":"12345", "type":"profile_set", "time":1435290195610, "properties":{ "Age":33, "IncomeLevel":"3000~5000" } } ]2. Encode
This step mainly encodes the JSON or JSON array in Step 1: Generate Data. The following sub-steps need to be executed sequentially.
- Please use UTF-8 encoding;
2.1. Perform Gzip compression (optional)
To optimize data transmission, you can compress the data with Gzip first.
- This is an optional step and can be skipped.
2.2. Perform Base64 encoding (required)
In order to better support various transmission methods, the data needs to be Base64 encoded. If 2.1 Gzip compression is performed, the compressed data should be Base64 encoded; otherwise, the JSON or JSON array to be transmitted should be directly Base64 encoded.
2.3. Perform UrlEncode encoding (required).
Since the data needs to be transmitted as URL parameters, the result obtained from 2.2 Base64 encoding needs to be UrlEncoded, which may be completed by the browser or data sending framework.
2.4. Assemble request.
2.4.1. A piece of Json data.
If it is a single piece of Json data, the request format is as follows:
data=xxxxx&gzip=1- data: the encoding result obtained from 2.3 UrlEncode encoding;
- gzip: whether Gzip compression is performed;
2.4.2. An array composed of multiple Json.
If an array composed of multiple pieces of Json is sent at once, the request format is as follows:
data_list=xxxxx&gzip=1- data_list: the encoding result obtained from 2.3 UrlEncode encoding;
- gzip: whether Gzip compression is performed;
2.5. Encoding example.
This section demonstrates encoding the sample data. Assuming the data is already written to the data.json file:
[ { "distinct_id":"2b0a6f51a3cd6775", "time":1434556935000, "type":"track", "event":"ViewProduct", "properties":{ "product_name":"苹果", "product_classify":"水果", "product_price":14 } }, { "distinct_id":"12345", "type":"profile_set", "time":1435290195610, "properties":{ "Age":33, "IncomeLevel":"3000~5000" } } ]First, compress the data using Gzip and perform Base64 encoding. In Linux, you can use the following command:
cat data.json | gzip | base64 -w 0CODEObtain the result:
H4sIAFsmElcAA4vmUgCCajAJAkopmcUlmXnJJfGZKUpWSkZJBolmaaaGicbJKWbm5qZKOgiVJZm5qUpWhibGJqamZpbGpgYGBsiylQVAWaWSosTkbGRdqWWpeSVAibDM1PKAovyU0uQSZOmCovyC1KKSzNRiJSuEq2BSINXxeYkge5VedO98Nm8Okl4URck5icXFmWmVQIXPNmzBo7CgKDMZ7A24dC2YVauDP2QMjYD+VsL0MNDctMyc1Pji1BKsgWVqZGlgaGlqZmhAnK8d04H6jI3RXO+Zl5yfm+oDDMwcoJ3GwKCvA4W/EronuGIBDY0g6OEBAAA=CODEThen, encode the data using UrlEncode. For example, using the online tool, the UrlEncode encoding of the sample data is:
H4sIAFsmElcAA4vmUgCCajAJAkopmcUlmXnJJfGZKUpWSkZJBolmaaaGicbJKWbm5qZKOgiVJZm5qUpWhibGJqamZpbGpgYGBsiylQVAWaWSosTkbGRdqWWpeSVAibDM1PKAovyU0uQSZOmCovyC1KKSzNRiJSuEq2BSINXxeYkge5VedO98Nm8Okl4URck5icXFmWmVQIXPNmzBo7CgKDMZ7A24dC2YVauDP2QMjYD%2bVsL0MNDctMyc1Pji1BKsgWVqZGlgaGlqZmhAnK8d04H6jI3RXO%2bZl5yfm%2boDDMwcoJ3GwKCvA4W%2fEronuGIBDY0g6OEBAAA%3dCODEAssemble the request:
gzip=1&data_list=H4sIAFsmElcAA4vmUgCCajAJAkopmcUlmXnJJfGZKUpWSkZJBolmaaaGicbJKWbm5qZKOgiVJZm5qUpWhibGJqamZpbGpgYGBsiylQVAWaWSosTkbGRdqWWpeSVAibDM1PKAovyU0uQSZOmCovyC1KKSzNRiJSuEq2BSINXxeYkge5VedO98Nm8Okl4URck5icXFmWmVQIXPNmzBo7CgKDMZ7A24dC2YVauDP2QMjYD%2bVsL0MNDctMyc1Pji1BKsgWVqZGlgaGlqZmhAnK8d04H6jI3RXO%2bZl5yfm%2boDDMwcoJ3GwKCvA4W%2fEronuGIBDY0g6OEBAAA%3dCODE
3. Send the data.
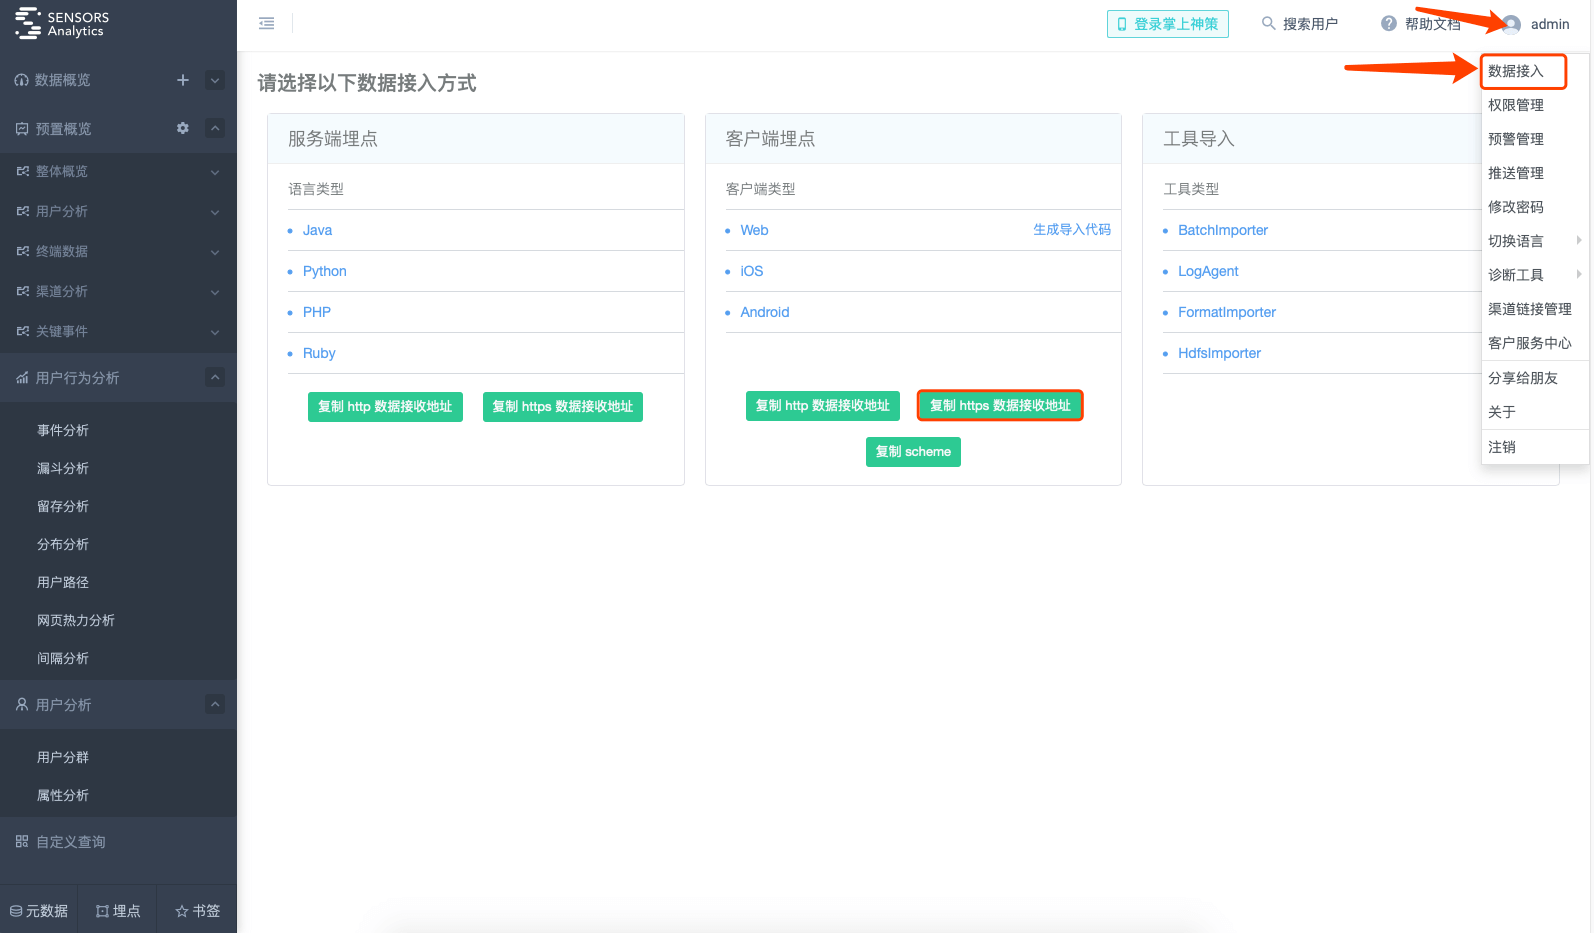
Send the encoded data to the API that receives data from Sensors Analytics.
API Address:

If using Sensors Analytics Cloud service:
- Data Receiving URL, recommended to use without port number: http://{$service_name}.datasink.sensorsdata.cn/sa?project={$project_name}&token={$project_token}
- Data Receiving URL with port number: http://{$service_name}.cloud.sensorsdata.cn:8106/sa?project={$project_name}&token={$project_token}
If the user uses the standalone private deployment of Sensors Analytics, the default configuration information is:
- Data Receiving URL: http://{$host_name}:8106/sa?project={$project_name}
(Note: For Sensors Analytics version 1.7 and earlier, the default port number for standalone private deployment is 8006.)
If the user uses the cluster private deployment of Sensors Analytics, the default configuration information is:
- Data Receiving URL: http://{$host_name}:8106/sa?project={$project_name}
Where {$host_name} can be any machine in the cluster.
If the Nginx default configuration is modified during private deployment, or accessed through CDN, please consult the relevant personnel for the configuration information.
For example, using curl to send request with Cloud service:
curl -v \ --data 'gzip=1&data_list=H4sIAFsmElcAA4vmUgCCajAJAkopmcUlmXnJJfGZKUpWSkZJBolmaaaGicbJKWbm5qZKOgiVJZm5qUpWhibGJqamZpbGpgYGBsiylQVAWaWSosTkbGRdqWWpeSVAibDM1PKAovyU0uQSZOmCovyC1KKSzNRiJSuEq2BSINXxeYkge5VedO98Nm8Okl4URck5icXFmWmVQIXPNmzBo7CgKDMZ7A24dC2YVauDP2QMjYD%2bVsL0MNDctMyc1Pji1BKsgWVqZGlgaGlqZmhAnK8d04H6jI3RXO%2bZl5yfm%2boDDMwcoJ3GwKCvA4W%2fEronuGIBDY0g6OEBAAA%3d' \ 'http://{$service_name}.cloud.sensorsdata.cn:8106/sa?project={$project_name}&token={$project_token}'4. Others
- If there are no special circumstances, it is not recommended to implement the above access process by yourself, but to access the data using SDK or tools.
- Sensors Analytics processes the received data asynchronously, so it takes a moment to query the data after it is sent.
To view the content of a decoded data locally, you can use:
UrlDecode > data # 将数据 UrlDecode(这步没有好用的 bash 命令,可以使用在线工具) cat data | base64 -d | gzip -dCODE
Note: The content of this document is a technical document that provides details on how to use the Sensors product and does not include sales terms; the specific content of enterprise procurement products and technical services shall be subject to the commercial procurement contract.
 Popular Searches